

Some phrases are meant to be fleeting. A sticky note on your laptop. A reminder in your planner.
And then there are the words you want to live with, the ones you want to reach for on an ordinary Tuesday morning while you are filling a water glass or making iced coffee. Glass etching is one of my favorite ways to turn an affirmation into something quietly permanent: subtle, tactile, and surprisingly durable when you do the stencil work with care.
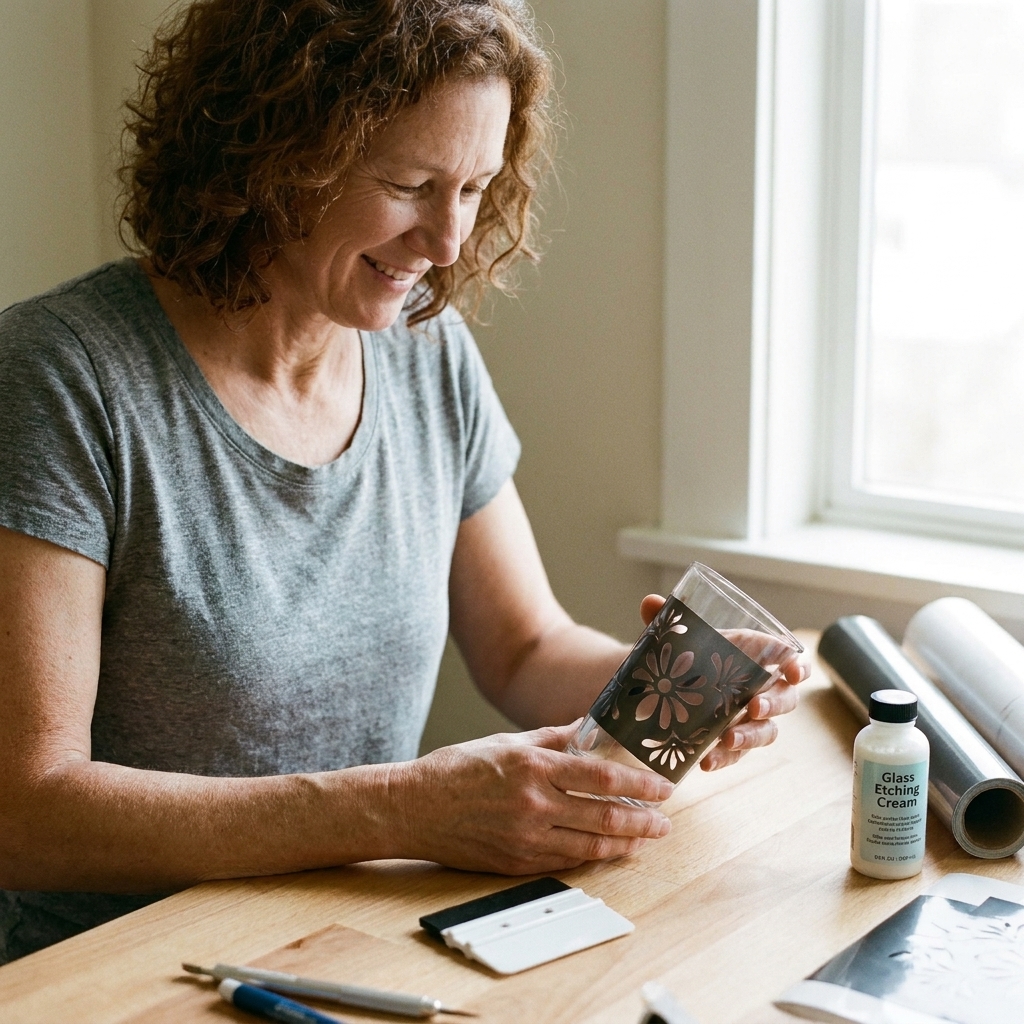
What makes a stencil work
Etching cream is not paint. It is a chemical paste that reacts with many types of glass and can leave a frosted finish where the glass is exposed. That also means it is not equally predictable on every glass you might pull from your cabinet. Some coated, tempered, borosilicate, or specialty glassware can resist etching or etch unevenly.
Your stencil has one job: block every bit of cream from touching the areas you want to stay clear.
A great stencil for glass etching is:
- Low detail at the tiniest scale (or supported with smart spacing so your letters do not break apart)
- Firmly burnished (no tiny tunnels along the edges)
- Protected around the design (cream spreads when you brush it on, even if you are careful)
If you have ever etched a design and thought, “Why does this look fuzzy?” the answer is almost always: the vinyl lifted somewhere, or the glass had oils on it, or both.
Supplies to gather
- Cricut machine (any model that cuts adhesive vinyl well)
- Permanent adhesive vinyl (for curved glass, I prefer permanent over removable)
- Transfer tape (standard grip is usually plenty)
- Weeding tools and a small pair of tweezers
- Lint-free cloth or coffee filters
- Isopropyl alcohol (for degreasing the glass)
- Painter’s tape (great for extending the protected area)
- Etching cream (follow the brand’s safety instructions carefully)
- Gloves and eye protection
- Cheap brush or craft stick for applying cream (do not use a favorite brush)
- A sink and running water for rinse-off
Most etching creams are corrosive. I work in a well-ventilated space, keep it away from kids and pets, and treat skin contact as a “rinse immediately” situation.
If you are newer to small, clean letter cutting, my general Cricut lettering tips live in this Cricut lettering guide. It is especially helpful for spacing and choosing fonts that cut cleanly.
Designing affirmations
Keep it short on curves
A tumbler or wine glass is basically a tiny billboard that bends. Short phrases read better and distort less. If you want something longer, consider stacking two lines or placing the words vertically.
Choose sturdy fonts
Ultra-thin scripts can be gorgeous on paper, and frustrating on glass. For etching, look for:
- Sturdier scripts with thicker downstrokes
- Simple serif fonts that keep counters (the “holes” in letters like O, A, R) from collapsing
- Sans serif fonts with open shapes and consistent width
If your affirmation includes delicate words like “breathe” or “soften,” you can still use script. Just size it up more than you think you need and avoid hairline styles.
Start with safe sizes
Every machine, blade, vinyl brand, and glass curve behaves a little differently, so treat these as starting points, not hard rules:
- Letter height: start around 0.35 in (9 mm) or taller for easier weeding on permanent vinyl
- Thin strokes: try to keep the thinnest parts around 0.06 in (1.5 mm) or thicker
- Spacing: leave breathing room between letters so you can weed without tearing
When in doubt, do a small test cut of just one word before committing to the full layout.
Cut settings for crisp edges
Most “fuzzy” etched letters start as slightly chewed vinyl edges. If you see tiny burrs at corners, ragged joins in a script, or a cut line that looks a little dragged, your etch will usually echo that softness.
My reliable setup
- Material: Premium Vinyl (Permanent) or the closest match for your brand
- Pressure: default first, then increase one step only if you see uncut spots
- Blade: a sharp fine-point blade (if your cuts look draggy, swap blades before you blame the font)
Always run a small test in a corner of the vinyl. If you have to fight the weeded pieces, your cut is either too deep (it is slicing the backing) or too shallow (it is not fully separating).
Weeding: remove vs keep
For glass etching, you are usually making a mask.
- If you want the words frosted, you weed away the letters so the cream touches the glass in those letter-shaped openings.
- If you want the glass frosted around clear words, you keep the letters and weed away the background.
When you are making affirmations, most people want the letters frosted. That means: remove the letters, keep the surrounding vinyl.
Before you apply anything to glass, pause and look at your design like it is a stencil, not a decal. Ask yourself: “Is the glass showing through exactly where I want frosting to happen?”
Do not lose the letter centers
Watch the little “islands” inside letters like A, O, R, P, and e. They need to stay stuck down on the glass during etching. If an island feels too tiny to trust, you can simplify the font, increase the size, or choose a version of the letterform with a bigger counter.
Apply vinyl to curved glass
1) Start clean, dry, and room temp
Wash and dry, then wipe the area with isopropyl alcohol using a lint-free cloth or a coffee filter. Make sure the glass is fully dry and at room temperature. Condensation and cold glass can cause edge lift.
2) Place with the hinge method
Set the weeded stencil (on transfer tape) onto the glass and adjust until it looks centered. Then tape one edge down with painter’s tape to create a hinge. Flip it up, peel the backing off the vinyl, then flip it back down into place.
3) Burnish in small arcs
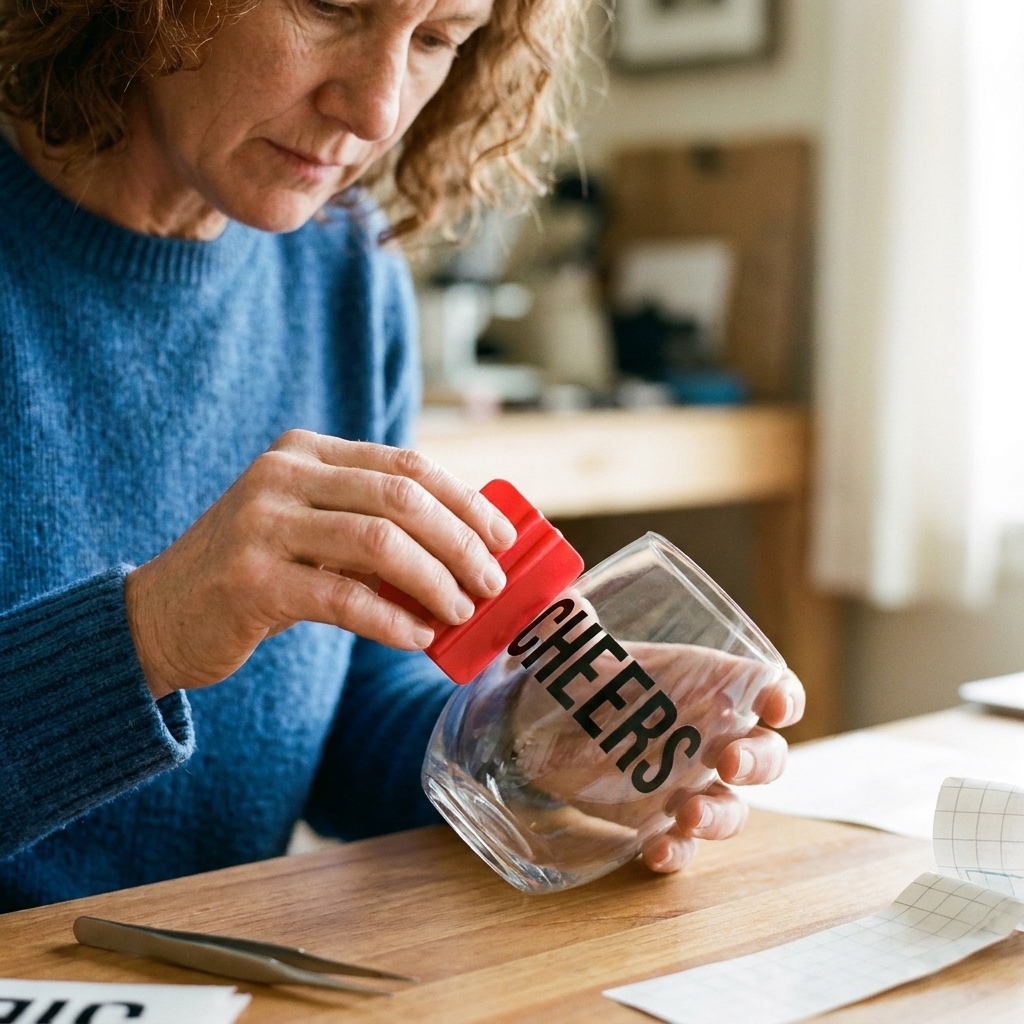
Because the surface is curved, press the vinyl down from the center outward in short, overlapping strokes. A scraper tool works, but I often prefer a soft-edged tool or even my thumb wrapped in a clean cloth for that final pass.
4) Peel transfer tape slowly
Peel the transfer tape back on itself at a low angle. If any part of the vinyl starts lifting, lay the tape back down and burnish that spot again.
Do I need to mirror text?
Not for the usual setup. If you are etching on the outside of the glass (most projects), do not mirror. Only mirror if you are applying the stencil to the inside surface and want it to read correctly from the outside.
Mask around the words
Etching cream tends to travel on a brush. Even if you stay “inside the lines,” you will be happier if you create a wider safety zone.
I like to:
- Leave at least 1 inch of vinyl border around the design whenever possible
- Add painter’s tape around the stencil edges if the vinyl piece is small
- Cover the rest of the glass with paper or a towel if I am working near the rim or base
This is the difference between a piece that looks intentionally minimal and one that looks like it has faint cloudy smudges nearby.
Etch: timing and technique
Different creams have different dwell times, so follow the instructions on your specific product. Technique matters just as much as time.
Apply like frosting
- Wear gloves and eye protection.
- Scoop a generous amount of cream and dab it on rather than brushing thinly.
- Dab straight down, then gently pat to level the layer, like you are trying not to disturb the edges.
- Avoid scrubbing the stencil edges. That is how cream sneaks underneath.
- Keep the layer thick enough that the glass is fully covered in the open areas.
Let it sit
Once the cream is on, stop fussing with it. Movement is where seepage happens.
Rinse before peeling
I prefer to rinse most of the cream away under running water while the stencil is still on. Then I peel the vinyl, and rinse again. This keeps stray cream from touching other parts of the glass during removal.
Care and durability
A true etched design is physically changed glass, so it will not peel like vinyl or wash off like ink. That is the beauty of it.
A few notes from experience:
- Etching is permanent, not indestructible. The frosting can look slightly duller if the glass gets heavy abrasion over years.
- Dishwashers are usually fine for etched glass, but results can vary with glass type and how aggressive your dishwasher cycle is.
- Top-rack washing is gentler, especially for thinner glassware.
- Avoid abrasive scrub pads on the etched area if you want the finish to stay evenly frosted.
If you are gifting etched glassware, I like to include one sentence in the card like, “It holds up well in the dishwasher, but avoid abrasive scrubbing on the etched area.” It reads as thoughtful, not fussy.
Troubleshooting
My letters look fuzzy
- Burnish longer, especially around inner corners and curves.
- Clean the glass with alcohol right before applying vinyl.
- Use thicker vinyl or permanent vinyl for better adhesion.
- Apply cream by dabbing, not brushing toward the edge.
Some parts etched lighter
- Your cream layer may have been too thin or uneven.
- You may have rinsed too early. Double-check the product dwell time.
- Glass coatings can affect results. Some tempered or treated glasses etch less evenly, and some specialty glass barely etches at all.
My tiny centers lifted
- Increase letter size or choose a less delicate font.
- Consider slightly offsetting the design so the smallest bits are not right on the tightest curve of the glass.
- When weeding, use a gentle touch and sharp tweezers so you do not stretch those tiny pieces.
My stencil wrinkled on the curve
- Use a slightly smaller stencil piece.
- Make tiny relief cuts in the transfer tape edge (not through the design) so it conforms better.
- Choose a flatter area of the glass, avoiding sharp tapers near the base.
If you are regularly fighting tiny letters, you may also like my practical notes on working with small cuts in weeding tiny letters. The project is different, but the hand skills transfer beautifully.
Affirmations for glassware
Etched words feel best when they are simple and steady. Here are a few that tend to read well on tumblers, mugs, and stemless wine glasses:
- Breathe easy
- One step
- Soft and strong
- Keep going
- Begin again
- Here now
- You are safe
- Let it be
- Make room
- Stay gentle
If you want affirmations that lean more witty than meditative, you might enjoy the tone in these morning quotes for handmade coffee mugs. Even when you do not use them word-for-word, they are a great reminder of how much personality a short phrase can hold.
A repeatable workflow
- Pick one short affirmation and size it for the flattest part of the glass.
- Cut permanent vinyl with a clean, tested setting.
- Weed so the glass shows through where you want frosting, and make sure letter centers are accounted for.
- Clean the glass with alcohol, let it fully dry, apply the stencil, and burnish patiently.
- Mask around the stencil with extra vinyl or painter’s tape.
- Dab on etching cream, wait, rinse, then peel and rinse again.
The first etched glass you make is usually the one you keep because you will want to run your fingers over the letters every time you walk past the cabinet. That is how you know you picked the right words.