

There is something quietly powerful about a doormat. It is the first sentence your home says.
When I helped artists prep booths for our local arts festivals, I learned that people decide how they feel about a space fast. One clean, welcoming phrase at the entrance can do what a whole paragraph cannot: it sets the tone. A coir mat is perfect for this because it feels warm and practical, and the texture makes even simple lettering look intentional.
Below is my maker-friendly approach to designing, cutting, and painting Cricut stencils on coir doormats, plus phrasing tips so your mat sounds like you.

Pick the right greeting first
Before we talk materials, start with the words. Coir is visually busy, so shorter phrases read best from the sidewalk.
Quick phrase rules that keep it readable
- Aim for 1 to 4 words. Five can work, but only with larger type.
- Choose sturdy letterforms. Hairline scripts and ultra-thin fonts tend to break up on coir.
- Watch your “tricky letters.” Very thin crossbars (A, H, e) and tight counters (a, o, R) fill in with paint easily.
- Decide your tone on purpose. “Welcome” is warm. “Come back with coffee” is playful. “Please remove shoes” is practical. All three are fine, but they invite different energy.
Welcoming wording ideas that fit on a mat
- Welcome
- Hello
- Hi there
- Come in
- Stay awhile
- Make yourself at home
- Glad you’re here
- Gather
- Home
- Our nest
- Wipe paws
- Hope you brought snacks
If you want vocabulary that leans cozy and belonging-focused, you might enjoy 12 words that mean home and belonging. Those kinds of words can give a mat personality without getting wordy.
Freezer paper vs vinyl: which stencil should you use?
You can make a doormat stencil two reliable ways. Both work, but they behave differently on rough coir.
Freezer paper (my go-to for coir)
- Best for: crisp edges on textured fibers, especially for bold text
- Why it works: you iron it down and it lightly seals to the bristles
- Downside: one-time use for most designs
Permanent vinyl stencil
- Best for: very simple shapes, large letters, quick projects
- Why it works: strong adhesive, easy weeding
- Downside: on coir, vinyl may not fully hug every fiber, so you can get tiny bleed dots unless you pounce carefully
If you are new to spacing and letter sizing, start with freezer paper. It is more forgiving on coir’s texture.
Supplies (what you actually need)
- Coir doormat (natural coir shows paint beautifully)
- Cricut cutting machine and StandardGrip mat
- Freezer paper or permanent vinyl
- Weeding tool
- Painter’s tape
- Lint roller (surprisingly helpful on coir)
- Acrylic paint (outdoor acrylic is ideal)
- Foam pouncer or stencil brush (skip bristle paintbrushes if you can)
- Cardboard to protect the work surface
- Optional: clear matte outdoor sealer (spray)
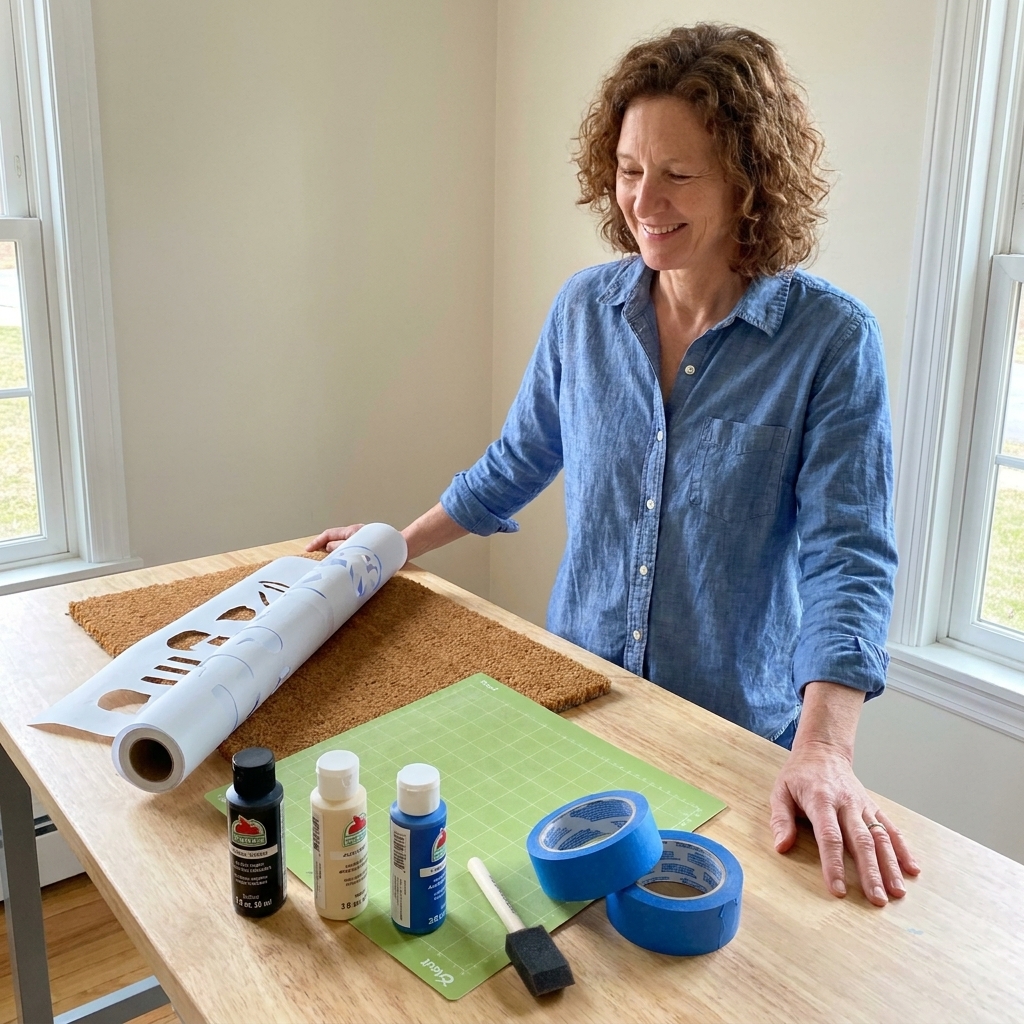
Design your stencil in Cricut Design Space
1) Measure your mat
Measure the usable flat area, not the stitched border. Then decide your safe margin. I like leaving at least 1.5 inches on all sides so the design does not feel cramped once it is on the porch.
2) Choose a font that can survive coir
Look for:
- Bold sans fonts
- Slab serifs
- Simple scripts with thick strokes
Avoid extremely thin scripts and anything with lots of delicate loops unless you are comfortable thickening it.
3) Thicken and simplify if needed
If your phrase feels right but the letters look fragile, you can:
- Increase letter spacing slightly
- Weld script letters so they cut as one piece
- Choose a heavier font weight
- Turn a script into an outline-free, single shape (cleaner for stencils)
4) Make it a real stencil (do not forget the “middles”)
Letters like A, O, P, R, and B have inner shapes. A stencil needs “bridges” so those inner pieces stay connected. You have two options:
- Stencil style fonts: easiest, already bridged
- Manually add bridges: add small rectangles over the openings so the centers stay attached
If you are already thinking about readability and short phrasing, my guide Cricut lettering pairs nicely with this project.
Cut the stencil (freezer paper method)
1) Place freezer paper shiny side down on the mat
The shiny side is the side you will iron onto the mat later. Cutting with shiny side down helps the cut behave more predictably and keeps the paper flat.
2) Choose a test-friendly cut setting
Freezer paper varies by brand. Start with a lighter setting and do a small test cut so you are not shredding the edges.
3) Weed the design carefully
Weed out the parts where paint will go. Keep any inner letter pieces that need to stay (the centers of O, A, etc.) attached via your bridges or by careful placement.
Cut the stencil (vinyl method)
1) Cut the design on permanent vinyl
Use your normal vinyl setting.
2) Weed the paint areas
For a stencil, you remove the parts you want painted, not the parts you want to stay plain.
3) Use transfer tape if needed
Large text often lifts and places better with transfer tape, especially if your stencil has multiple separate pieces.
Prep the mat so the stencil sticks
Shake out and clean
Coir sheds. Give the mat a good shake outside, then use a lint roller to pull up loose fibers. This one step prevents a lot of paint fuzz.
Flatten the surface
Put cardboard underneath and tape the mat down at the corners so it does not shift while you pounce paint.
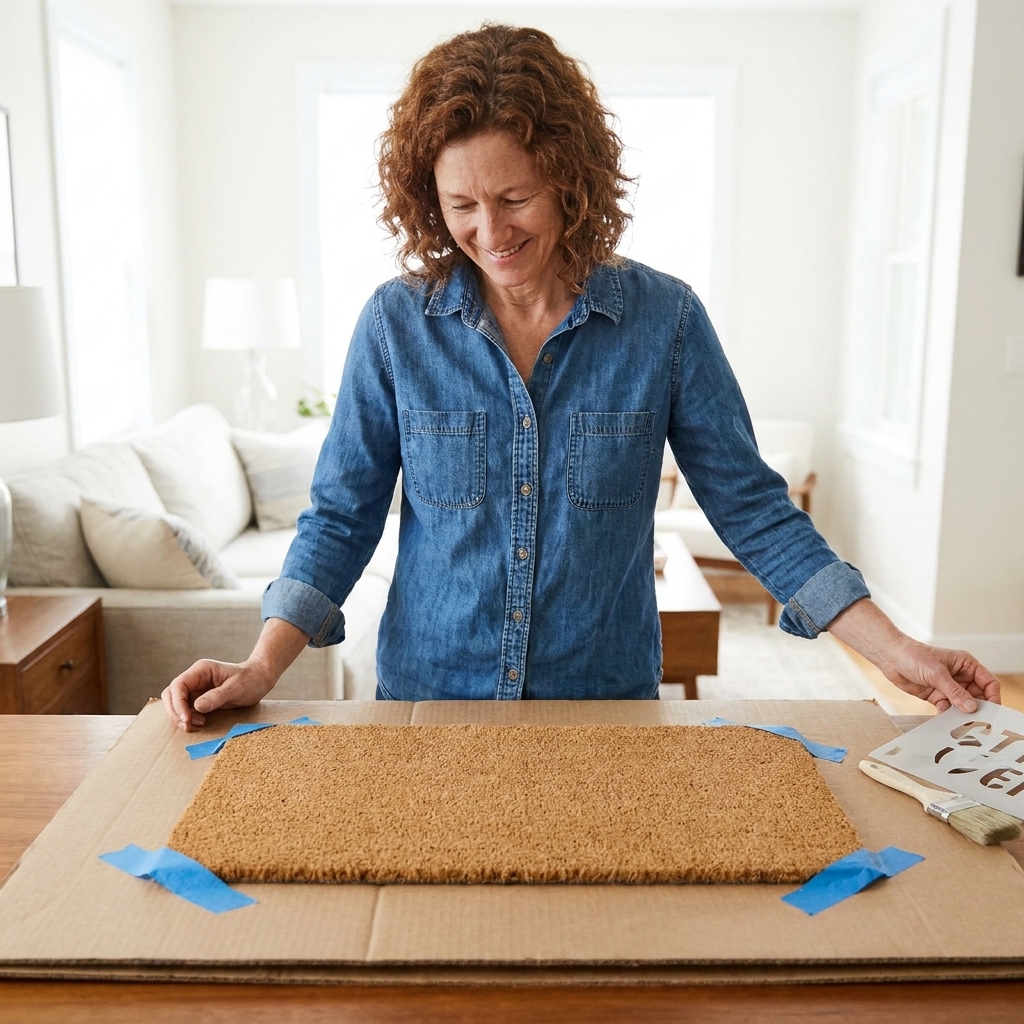
Apply the stencil
Freezer paper: iron it down
- Place the freezer paper stencil on the mat.
- Cover it with parchment paper or a plain sheet of copy paper.
- Use a dry iron on medium heat and press in sections.
- Focus on letter edges. That is where bleeding starts.
Tip: Do not slide the iron around like you are ironing a shirt. Press and lift to avoid shifting.
Vinyl: burnish it down
- Press the vinyl stencil onto the mat.
- Burnish firmly with a scraper tool or old gift card.
- Spend extra time on the edges of each letter.
Paint without bleed: the pounce technique
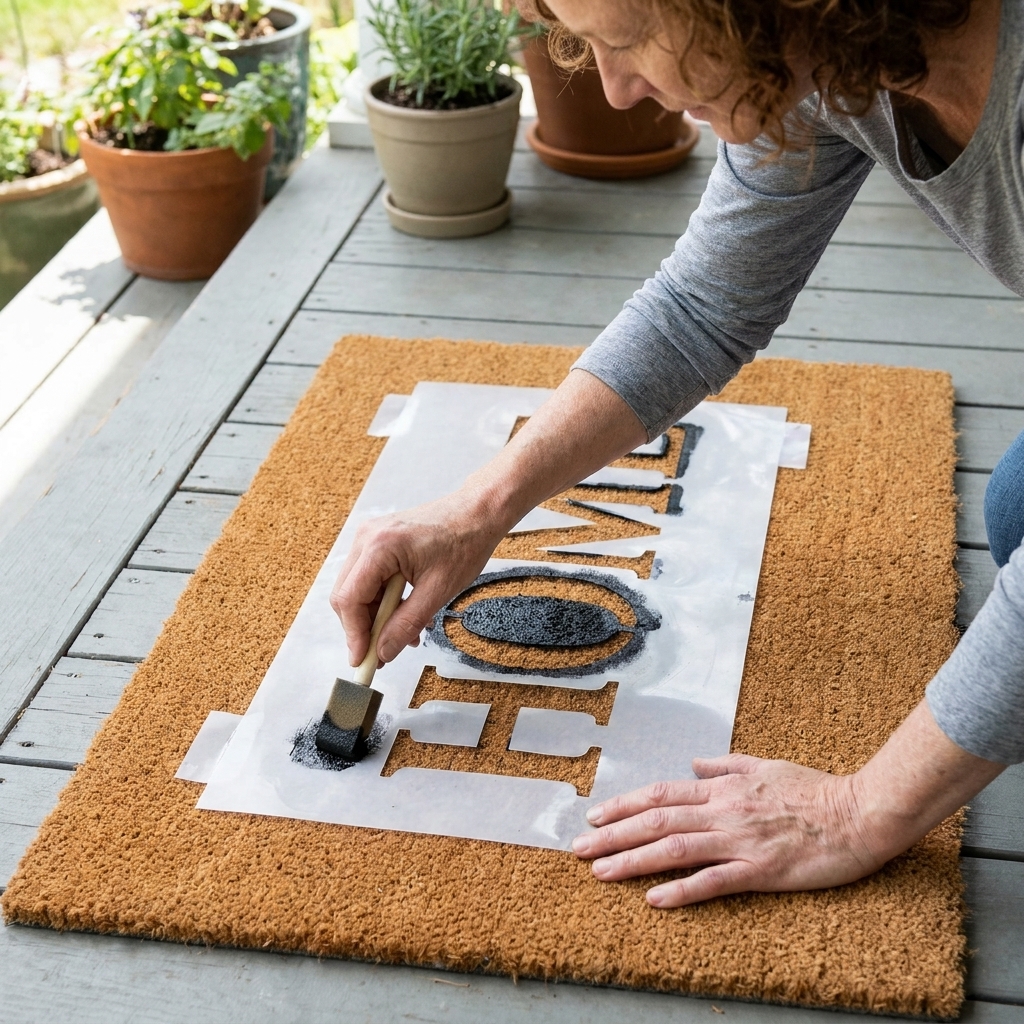
If you take only one thing from this article, let it be this: pounce, do not brush. Brushing pushes paint under edges. Pouncing deposits paint on top of fibers.
1) Use very little paint
Dip the foam pouncer lightly, then dab most of it off on scrap paper. Your first pass should look almost too dry.
2) Build color in thin layers
Pounce straight up and down. Two to four light coats look cleaner than one heavy coat.
3) Peel while slightly tacky
When the final coat is no longer wet-shiny but not fully cured, peel the stencil slowly. This helps prevent lifting paint flakes along the edges.
Seal (optional, but helpful for weather)
Many painted coir mats hold up well without sealer if they are in a covered entry, but sealing helps with rain, snow, and heavy foot traffic.
- Let the paint dry fully first.
- Use a clear matte outdoor spray sealer in light coats.
- Spray outside and follow the label instructions for dry time and distance.
One note: some sealers can slightly darken natural coir. If that would bother you, test the sealer on the back corner first.
Layout tricks for a mat that looks professionally made
Centering that actually looks centered
Optical centering beats mathematical centering. If your phrase has a long word and a short word, nudge the whole design until it looks balanced rather than perfectly measured.
Use a baseline guide
Put a strip of painter’s tape lightly across the mat as a temporary baseline, then align your text to it.
Keep contrast high
Black paint on natural coir is classic because it reads instantly. Deep green and warm white can be beautiful too, but pale colors tend to disappear against coir.
For more small-space wording decisions like this, write clear words for a small sign is the same skill set in a different format.
Troubleshooting
My paint bled under the stencil
- Use less paint and pounce more lightly.
- Press down edges again before painting.
- Prefer freezer paper for better edge sealing on coir.
My small letters filled in
- Enlarge the design or choose a thicker font.
- Increase letter spacing.
- Switch from a brush to a foam pouncer.
The stencil lifted fibers when I removed it
- Peel more slowly, at a low angle.
- If using vinyl, reduce burnishing pressure and avoid aggressive adhesive brands for this project.
- Make sure paint is not fully hardened onto the stencil edge before peeling.
The mat looks fuzzy after painting
- That is normal for coir. Once dry, you can gently flick away loose fibers with your fingers or a dry, clean brush.
A few welcoming word styles (so it sounds like your porch)
Warm and classic
- Welcome
- Come in
- Stay awhile
Friendly and modern
- Hello
- Hi there
- Glad you’re here
Playful house rules
- Wipe paws
- Shoes off
- Hope you like dogs
Quiet and minimal
- Home
- Gather
- Begin
If you love the cozy, Scandinavian-leaning mood, you might enjoy the true meaning of hygge for language that feels soft without being sugary.
Safety and porch reality checks
- Ventilation matters: paint and sealer should be used in a well-ventilated area.
- Let it cure: even when paint is dry to the touch, it often needs longer to cure fully before heavy traffic.
- Expect patina: doormats are meant to be used. A little wear is not failure, it is proof of a lived-in home.